ELM-CONF: Using custom elements for WebRTC conferencing
2020-06-30 (Last updated on 2020-09-26)
This post shows how custom elements (often called Web Components) can be used to create a simple WebRTC conference solution with Elm.
The source code is available on github and the behavior is similar to the simple example from the W3C WebRTC spec.
My main goal was to NOT have two applications that need to synchronize state, but instead keep all state inside the Elm app and use ports to mutate it, and display it using custom elements.
About WebRTC
WebRTC is a technology to enable real-time browser-to-browser communication.
There is a W3C specification for the WebRTC API (another link to an introduction on MDN).
It was pioneered by Google and is available to the public since 2011, it became a W3C Candidate Recommendation in late 2017. But until today, e.g. Google Chrome does not properly implement the spec, making it still hard to ensure it works well between different browsers.
Luckily, there is webrtc-adapter, which tries to work around most browser-specific quirks and allows developers to use the official spec.
Due to the highly stateful nature of the WebRTC API, a lot of two-way communication between an Elm and the JavaScript glue code necessary for WebRTC.
Before custom elements, one either had to use many port functions for that, or render e.g. only a placeholder or video element in Elm and then mutate it using JS while hoping that the DOM node would not be removed.
Custom Elements and Elm
The official Elm guide contains a section about using custom elements to use JavaScript APIs that Elm does not support, e.g. for internationalization in an indirect way.
The example already shows how to use the connectedCallback and attributeChangedCallback to pass strings from Elm to the custom element and how the custom element can watch for changes to these HTML attributes.
This example also uses two other techniques:
For instance is it not only possible to add string attributes to the custom element, but Elm can also attach arbitrary JSON.Value data to a custom element by setting it as a property.
Also, the custom element can emit DOM events that Elm can listen to.
I also created a cheat sheet post for them.
The conference example
As said before, the main goal was to keep all state in Elm and not create a second shadow-application in JavaScript that needs to synchronize its state with the main Elm app and can get out of sync easily.
To achieve this, the Elm app keeps all references to all js objects that are needed as opaque JSON.Values. To improve readability I added type aliases like
type alias PeerConnection = Json.Value.
Keeping state
As an example, for every other person in the conference, the Elm app keeps stores the javascript objects like RTCPeerConnection and the audio and video media tracks.
And as events arrive from the signaling server like ICE candidates, or SDP descriptions, the Elm code executes port functions passing both the event and the RTCPeerConnection reference to operate on.
To make the program more stable, it would be useful to also track more error messages than I do, but that would increase the complexity for this example.
Step 1: Retrieving the user's video&audio stream
Before a user may join a conference, she must give the web app access to her camera and microphone. After the app has a local stream, the user may proceed and connect to the conference server.
This is encoded in the following types
type alias InitialMediaSelectionData =
    { room : RoomId
    , localStream : LocalStream
    }


type LocalStream
    = NotRequested -- initial state
    | LocalStream Stream -- only state that allows to proceed
    | Failed String


type alias Stream =
    Json.Value
The logic to select audio and video devices is fully encapsulated inside the custom element camera-select in ./src/camera-select.js.
It uses the MediaDevices.enumerateDevices and MediaDevices.getUserMedia functions to allow the user to select the desired devices.
Every time the getUserMedia Promise either succeeds or fails, an event "got-stream" is fired that either contains the MediaStream or the error message.
The Elm app, that so far only rendered the custom DOM node, listens to these events, decodes them and changes the value of localStream.
cameraSelect : Html Msg
cameraSelect =
    node "camera-select"
        [ onCustomEvent "got-stream" GotLocalStream getUserMediaResult ]
        []


getUserMediaResult : Json.Decoder LocalStream
getUserMediaResult =
    Json.oneOf
        [ Json.map LocalStream <| Json.field "stream" Json.value
        , Json.map Failed <| Json.field "error" Json.string
        ]
If a local stream is stored, the user can click the proceed button to connect to the server.
viewInitialMediaSelection : InitialMediaSelectionData -> Html Msg
viewInitialMediaSelection { localStream } =
    div [ class "modal" ]
        [ h1 [] [ text "Camera selection" ]
        , cameraSelect
        , btn [ onClick Join, disabled <| not <| hasStream localStream ]
            [ text "Looks good, I want to join" ]
        ]
Step 2: Connecting to the server
For the WebRTC signaling part, a port is used to open a WebSocket connection to the server in ./server.js. The server stores the running sessions and forwards messages as necessary between the different peers.
update : Msg -> Model -> ( Model, Cmd Msg )
update msg model =
    case ( msg, model ) of
        ...
        ( Join, InitialMediaSelection { room, localStream } ) ->
            case localStream of
                LocalStream stream ->
                    ( JoiningRoom { room = room, localStream = stream }
                    , Ports.Out.joinRoom room
                    )

                _ ->
                    ( model, Cmd.none )
After the connection to the server was established (currently one single hardcoded room), the user id, already existing users and the WebSocket are stored inside Active.Model
Step 3: Displaying other users (potential peers)
For every other user (existing and new ones) in the session, one custom element webrtc-media (see ./src/webrtc-media.js) is created.
After this element is connected to the DOM (will e.g. only happen "immediately" in Chromium for visible tabs), an RTCPeerConnection will be created and propagated to Elm via a custom event "new-peer-connection".
-- in ./src/Active/View.elm
viewPending : Model.PendingUser -> Html Msg
viewPending user =
    H.node "webrtc-media"
        [ ...
        , onCustomEvent "new-peer-connection" (Msg.UserUpdated user.id) Msg.peerConnectionDecoder
        ]
        []
This new peer connection object is then stored on the Elm side, and also attached to the WebRtcMedia element as a property. Elm can attach complex JSON objects or in this case the opaque stateful RTCPeerConnection object to custom elements, and there it can be used.
-- in ./src/Active/View.elm
viewOtherUser : Model.Peer -> Html Msg
viewOtherUser user =
H.node "webrtc-media"
[ HA.id <| "user-" ++ String.fromInt user.id
, HA.property "pc" user.pc
, ...
]
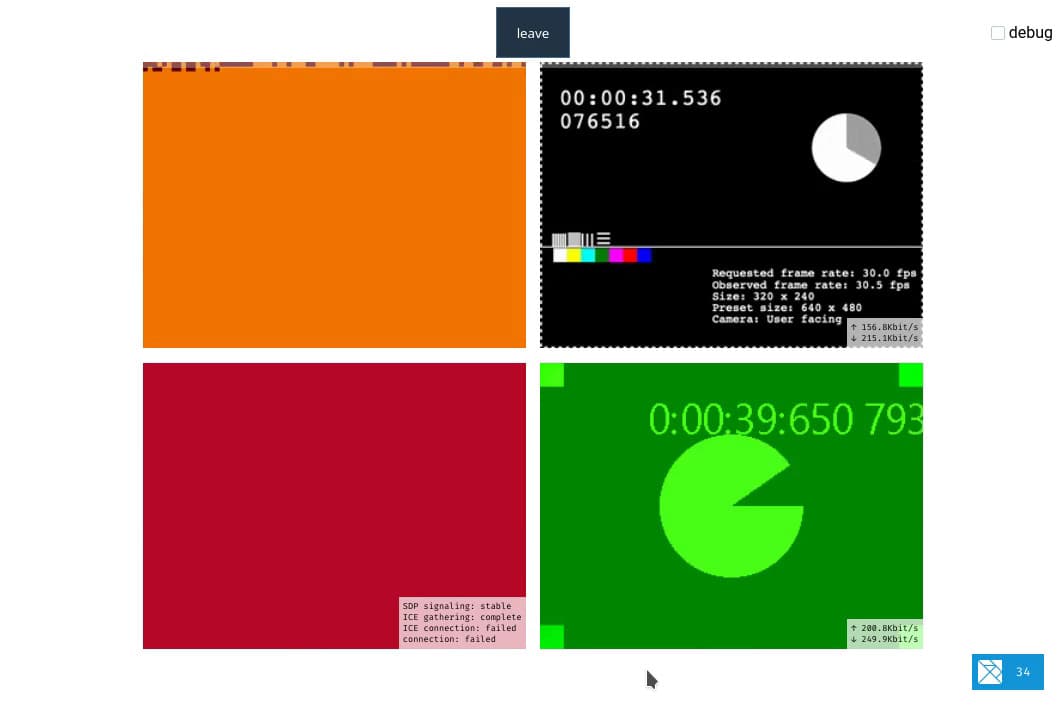
[]The custom element does not really need access to the peer connection, but it is useful to display the peer connection negotiation stages and the upload and download speed of the established connection.
Step 4: Negotiating a connection to another peer
At this point the behavior differs depending on when other users join the conference. If another user is already in the conference room when Anna joins, then it will initiate the connection as a caller (and the behavior will be explained later), making Anna a callee.
If a new user Bert joins into the conference after Anna, then Anna will be the caller and will create an SDP offer for Bert and initiate the ICE negotiation to create a stable RTCPeerConnection.
Step 4a: Negotiating a connection as caller
When Bert joins into the session, a new custom element webrtc-media (see ./src/webrtc-media.js) will be created.
After this element is connected to the DOM (will e.g. only happen for visible tabs in Chromium), an RTCPeerConnection will be created and propagated to Elm via a custom event "new-peer-connection".
This is triggered
-- in ./src/Active/View.elm
viewPending : Model.PendingUser -> Html Msg
viewPending user =
    H.node "webrtc-media"
        [ ...
        , onCustomEvent "new-peer-connection" (Msg.UserUpdated user.id) Msg.peerConnectionDecoder
        ]
        []
This new peer connection object is then stored and Elm uses a port to attach the local media stream to it and create and propagate an SDP offer.
-- in ./src/Active/Update.elm
updatePendingUser : Msg.UserId -> Model.Stream -> Msg.Updated -> Model.PendingUser -> ( User, Cmd msg )
updatePendingUser ownId localStream msg user =
    case msg of
        Msg.NewPeerConnection pc ->
            ( Model.User ...
            , if ownId < user.id then
                -- executes `initiateSdpOffer/3 in ./src/index.js
                Ports.Out.createSdpOfferFor user.id pc localStream
              else
                ..
            )
        ...
After the SDP offer was created, the browser will start to search for ICE candidates (IP address, protocol and port) that the other peer could use to successfully establish a peer-to-peer connection to the user.
The other peer will then send an SDP answer so we know which media codecs both browsers support to exchange the audio and video streams.
Every found ICE candidate will be immediately sent to the other peer, as per the Trickle ICE specification. The remote peer will do the same and if we are lucky, the connection will be successfully established.
Note: For the ICE candidate exchange, I took a shortcut without sending them through Elm, as it is more useful to look at the stats on about:webrtc (Firefox) or chrome:webrtc-internals (Chromium-based browsers) in a new browser tab. Each lists the candidate types and also which candidates were selected, and it is a lot easier to use them instead of the Elm debugger.
Step 4b: Negotiating a connection as callee
The behavior for the callee is almost the same as described in "Step 4a". The main difference to the caller is that before the browser has rendered and connected the custom element webrtc-media, we could already have received an SDP offer from the remote peer and several ICE candidates.
These are stored until the RTCPeerConnection was created, and are then added to the connection together with the local media stream.
-- in ./src/Active/Model.elm
type alias PendingUser =
    { id : UserId
    , browser : Browser
    , remoteSdpOffer : Maybe Msg.Sdp
    , remoteIceCandidates : List Msg.IceCandidate
    }
If they did not arrive yet, they will come later 🙃 and wil be added to the peer connection.
Step 5: Displaying audio and video tracks
After the SDP offer and answer descriptions were exchanged, the browser (at least Chromium) will already create one audio and one media track with the codec specified in the SDP descriptions and trigger the _playTrack method of the webrtc-media custom element for each. These add the media tracks to the user state.
We could now display the video stream, but it will be rendered as a black square in most browsers until the first frames can be drawn.
In this solution, the video stream will only be visible after the playing event was emitted on the video element that is rendered inside the webrtc-media node.
There are several other events that can be used, but I found the "playing" (in combination with "stalled") to work best in my tests. Other possibilities include:
MediaStreamTrack.onunmutewhich is not supported in SafariMediaElement.oncanplay: Sent when enough data is available that the media can be played, at least for a couple of frames.MediaElement.onloadeddata: The first frame of the media has finished loading.
Two-way communication between Elm and a custom element
I used the behavior to display the video stream as an example for two-way communication between Elm and the custom element WebRtcMedia (DOM element <webrtc-media/>):
- WebRtcMedia emits a
"video"event for every"playing"and"stalled"event on the video element. - These events will change the
Viewstate of the user. - The
Viewstate is rendered as the attribute"view"on the webrtc-media element - Because
"view"is in the list of [observedAttributes, it triggers theattributeChangedCallback](https://developer.mozilla.org/en-US/docs/Web/Web_Components/Using_custom_elements#Using_the_lifecycle_callbacks), which could be used to trigger another action. But I didn't do that because I had no idea what to do with it, except maybe nicer animations 🤔... - I used the view state as a css selector
webrtc-media[view="playing"]to change the position of the video element instead.
Note: The video might be visible before the conection is considered stable.